This tool allows you to create annotation tags for Plumbing families. There are four tools in one, Tag All Plumbing, Tag Plumbing Fixtures, Tag Pipe Accessories, and Tag Pipe Fittings.
Table of Contents
1. Video User Manual
2. Setting Up Plumbing Tags
The Tag Plumbing tool requires annotation tag families to be specified in Settings for each tag.

Click on the Settings button.
Once the Settings window opens go to the Annotation Tags tab.
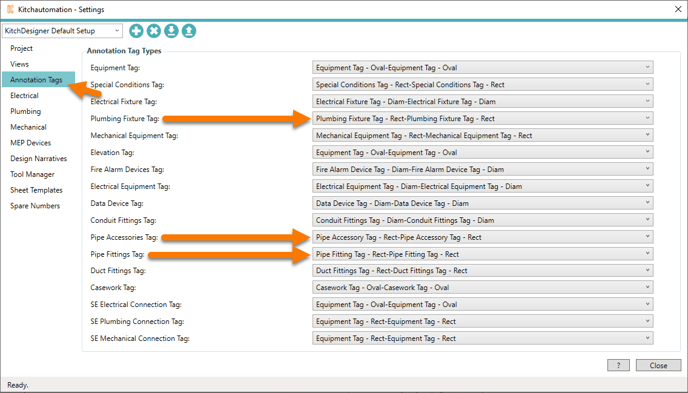
The following tags can be added using the Tag Plumbing set of tools:
- Tag Plumbing Fixtures
- Tag Pipe Accessories
- Tag Pipe Fittings
If a tag family is not specified, those tags will be skipped.
3. Using the Tag Plumbing tool
The Tag Plumbing set of tools analyzes each Specialty Equipment family’s orientation to locate the front and back.
 On the far right of the KitchDesigner tool ribbon are the Tag Front and Tag Back toggle buttons.
The Tag Plumbing set of tools will place the annotation tags at the front or back of the equipment depending on which button is active, Tag Front or Tag Back.
The Tag Plumbing set of tools will only create annotation tags for the active Revit view.
It is also possible to only tag the selected families. When no families are selected, all families in the view will receive tags.
All tag tools check for existing tags and will not duplicate tags, so if you add plumbing rough-ins you can use the Tag Plumbing tools repetitively.
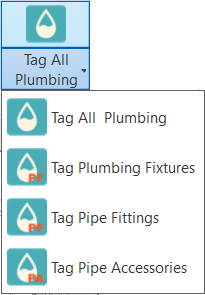
Once you have the correct view open and active, press one of the Tag Plumbing tools.
All tag tools must have an annotation tag specified in Settings otherwise the tags will not be placed. For example, the Tag Pipe Accessory tool must have a Pipe Accessory tag specified.

A Progress Bar will pop up to show the completion progress.
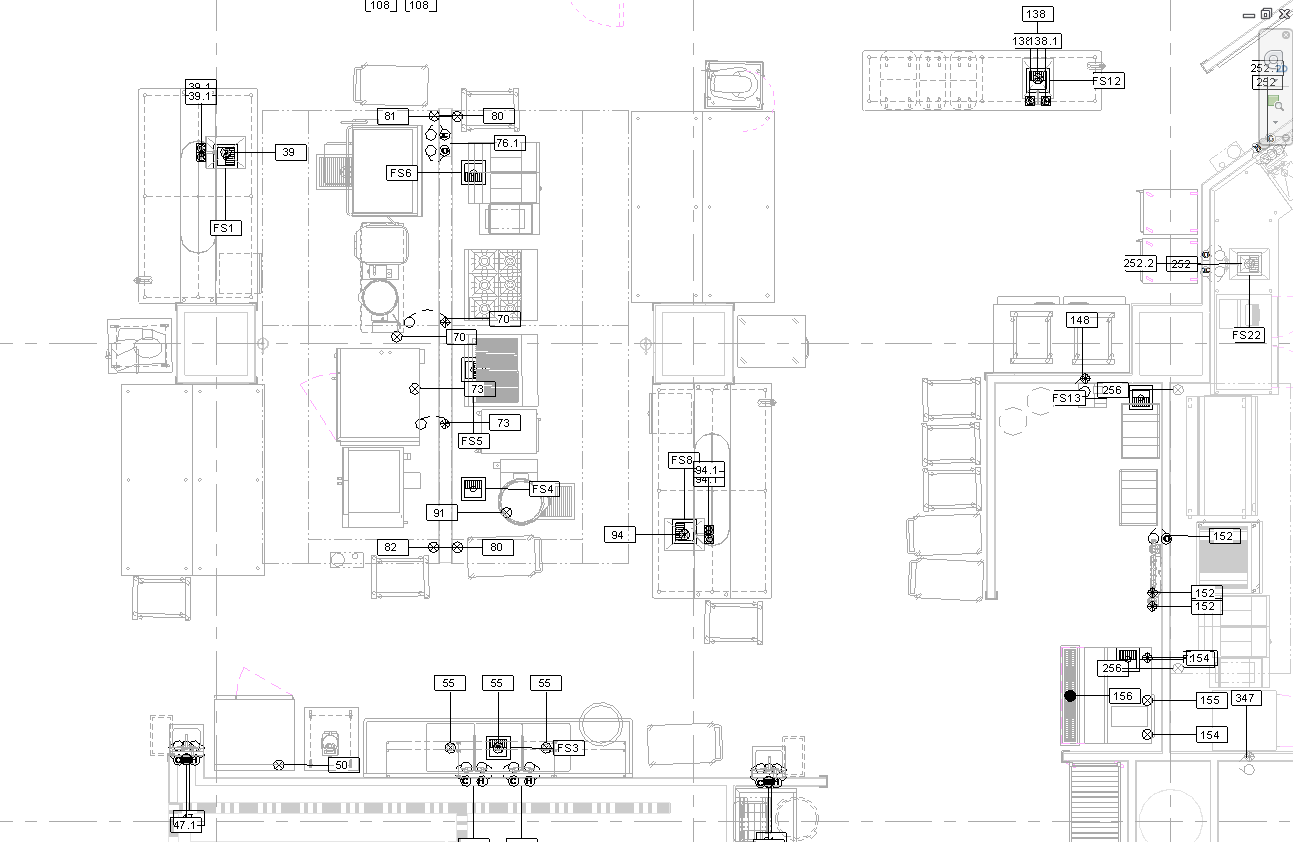
The Tag All Plumbing tool will create tags for all plumbing families that have a tag specified in Settings. If only some of the tags are specified, those tags will still be placed and only the others will be skipped.
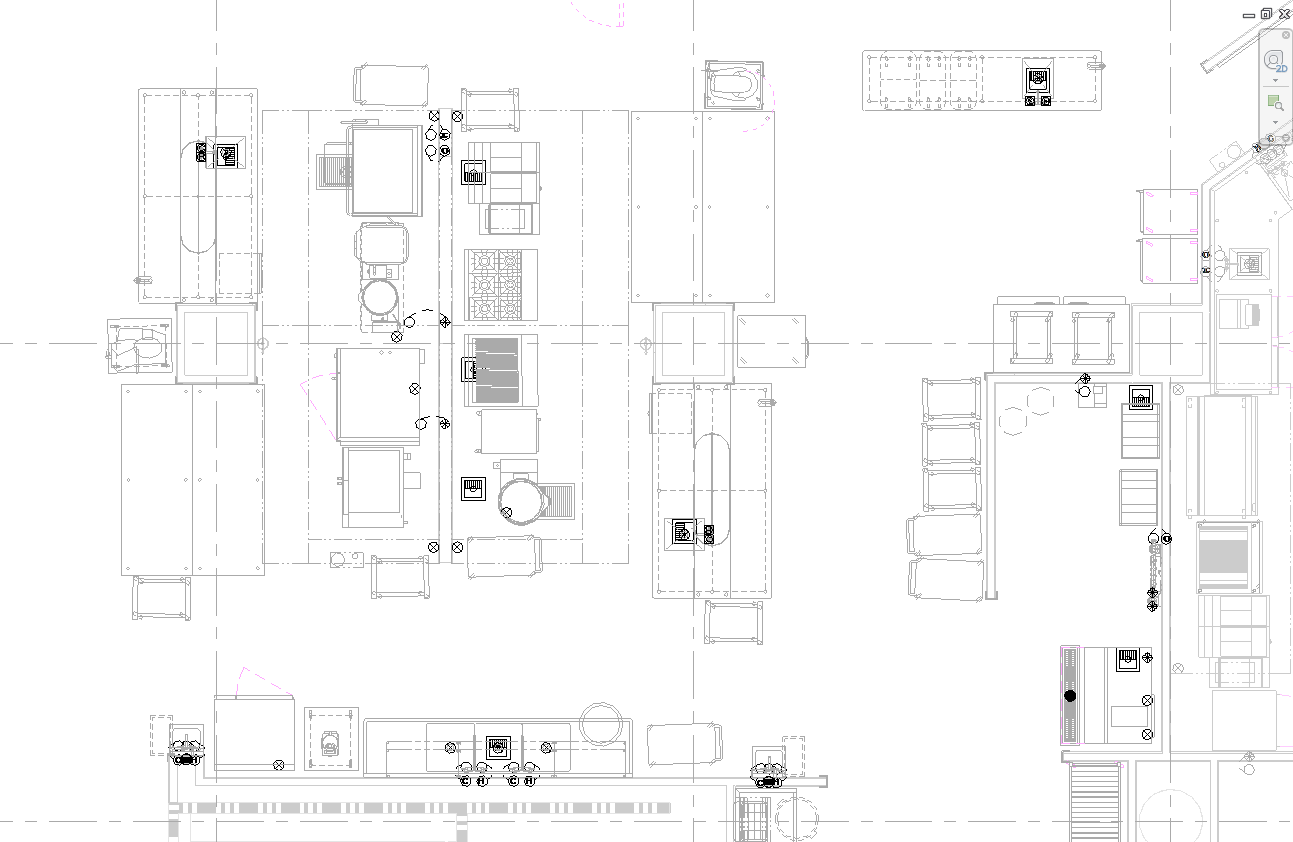
Before:
Tag Front:
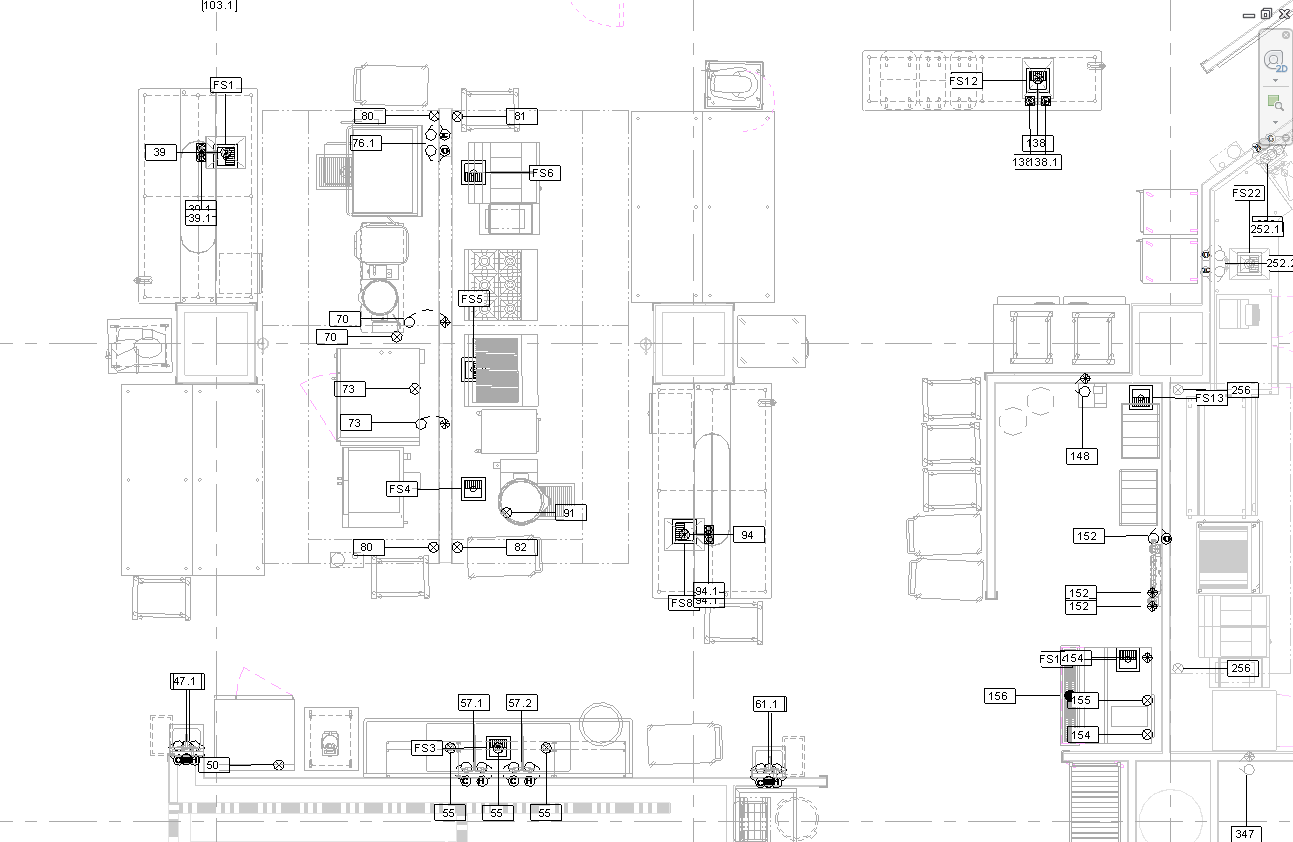
Tag Back:
