Design Narrative Settings allow you to customize how your Design Narratives will look when they are exported to Microsoft Word®. Snapshots and Design Narratives are saved to Revit project files when Revit is saved, similar to Settings.
Each of the Settings tabs have been separated into their own user manual.
All of the sections start with Settings Files - Saving, Importing, and Exporting.
Table of Contents
- Settings Files - Saving, Importing, and Exporting
1.1- Managing your Settings file
1.1.1- Missing Settings Elements
1.2- Saving Settings to a Revit Project - Design Narratives Settings
2.1- Header Information
2.2- Move Tolerance
1. Settings Files - Saving, Importing, and Exporting
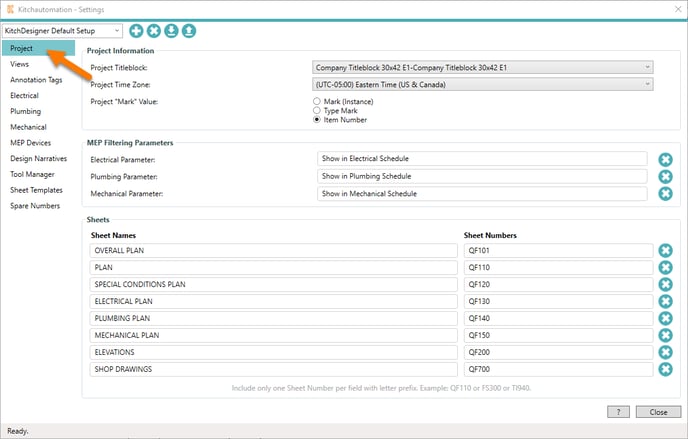

To begin click on the Settings button.
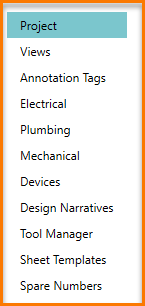
On the left side of the window is your navigation menu, you can click on the vertical list of topics to open a specific Settings tab.
Each tab contains a subset of settings that are used by one of the many KitchDesigner ribbon tools.
The Settings button opens to the Project tab.
1.1- Managing your Settings file

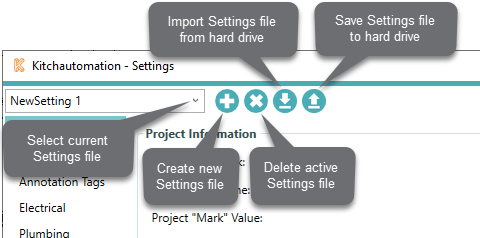
At the top of the Settings window is the Settings Toolbar. This contains the Settings file name and (4) buttons to help you manage your Settings file.
There are occasions where changes in KitchDesigner Settings may need to be distributed to a team of users or you may just want save a backup, in these occasions you can use the Settings toolbar to export settings to other users that can then import them.
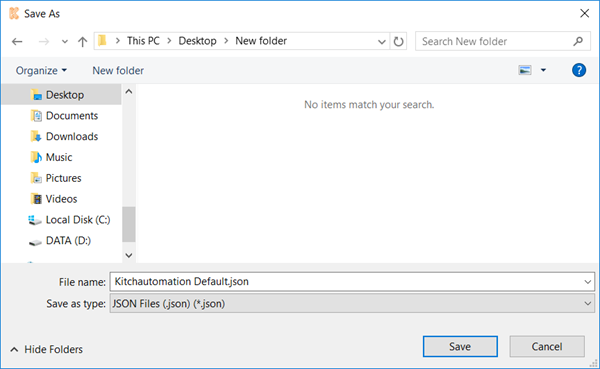
![]() Export Settings files as JSON files and save them to your hard drive.
Export Settings files as JSON files and save them to your hard drive.
![]()
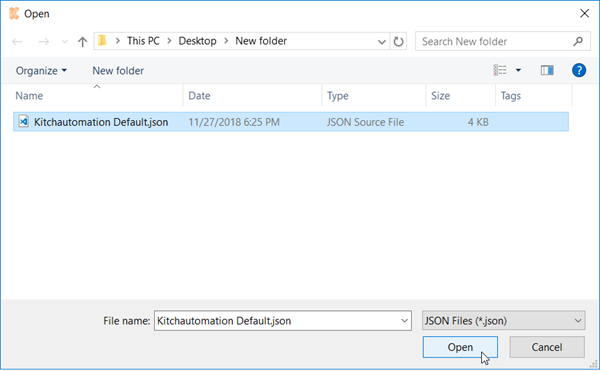
Import Settings files by selecting them using the file browser.
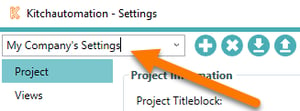
Settings files can also be renamed by clicking on the text to reveal a cursor.
1.1.1- Missing Settings Elements
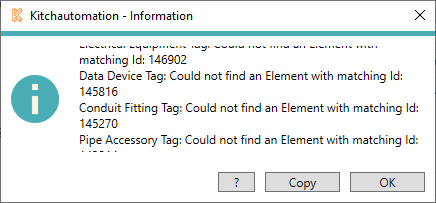
Many of the settings are just links to Revit families and elements in your Revit project, if you import a Settings file into a Revit project that does not also contain these families then those links will be broken and you will receive a Error Message that explains which families were missing. You can copy this list to your clipboard using the Copy button.
1.2- Saving Settings to a Revit Project
A key feature of Settings is that when a Revit project is saved, the active Settings file is also saved to the Revit project file at the same time. This essentially binds the KitchDesigner settings to the Revit project file after each Save.
If the same Revit file is opened by another user on a different computer, all the settings will be just as they were when the Revit project was last saved.
In context of a Revit template file, once you have configured your company settings all you need to do is save your Revit template file and your Settings will also be saved. Any future user of this template will have their Settings pre-configured for their use without ever having to open Settings.
This works great for new projects but for all of your existing projects you will still need to use the Import and Export Settings buttons on the Settings toolbar.
2. Design Narratives Settings
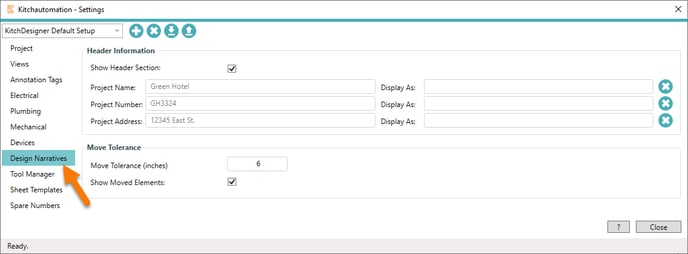
The Design Narratives tab is a group of settings for the Design Narratives tool.
2.1- Header Information

This section controls the information that is displayed in the header of a Design Narrative Word document.
 To hide the header section completed, uncheck the Show Header Section checkbox.
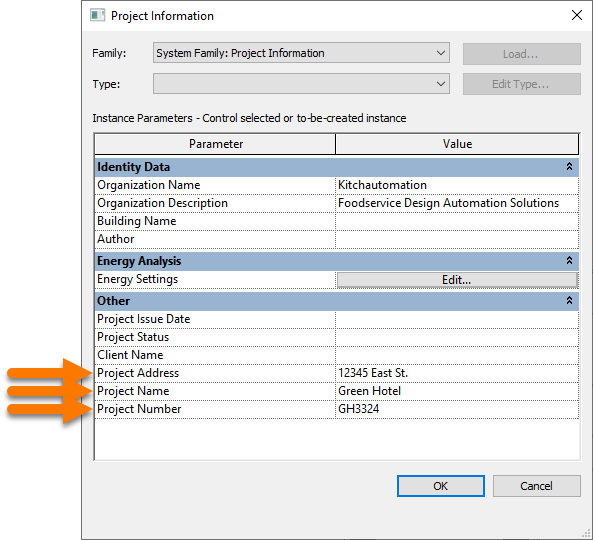
Project Name, Project Number & Project Address are copied from the Project Information parameters.

Display As:
These are used for changing the values of the Project Information parameters used in Design Narrative headers.
Sometimes these parameters are associated with a linked file so the the Display As settings allow them to be customized.
2.2- Move Tolerance

The Move Tolerance section is used to control whether Move changes are shown in the Design Narrative or not.
If a piece of equipment is moved less than the Move Tolerance, Move changes will not be shown.

Furthermore, if you want to hide all Move changes completely then uncheck the Show Moved Elements checkbox.
