The Connect Rough-Ins tool is used to create arcs between MEP Rough-Ins and MEP Connection Points.
Using the Connect Rough-Ins Tool

Click on the Connect Rough-Ins button

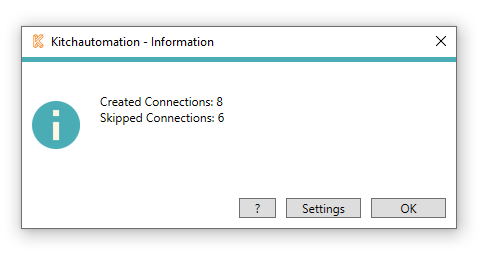
A prompt will appear letting you know how many new Connection Arcs were created between mechanical rough-in families and mechanical connection points as well as how many were skipped.
Connection Arcs can be skipped for the following reasons:
- When the rough-in is less than 2" from the connection point.
Selecting a Wiring or Piping Linetype


The Wiring/Piping setting is a linetype selector on the Connection Point side of the Electrical, Plumbing, and Mechanical tabs in Settings is used by the Connect Rough-Ins tool.
The Connect Rough-Ins tool creates an arc between the rough-in and the connection point of the same rule.

To activate the Wiring button ![]() , you must specify at least (1) rough-in and a connection point. Otherwise there is nothing to connect.
, you must specify at least (1) rough-in and a connection point. Otherwise there is nothing to connect.
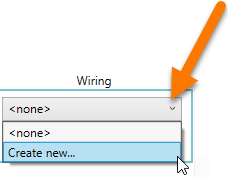
Once you see the ![]() , click it to show the dropdown.
, click it to show the dropdown.
Here you can select a linetype that you have created in your Revit project. Do not use a linetype that is used for anything other than the Connect Rough-Ins tool.
When the Connect Rough-In tool is used, it deletes all lines of the specified linetype and then replaces them with new arcs. For this reason, you should not use this line type for anything else in your project otherwise it will get deleted when you use the Connect Rough-Ins tool.

It is easy to create a new linetype using the Create New... option.
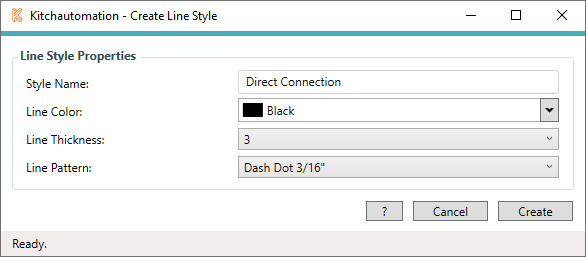
Select you linetype style name, color, thickness and pattern.
Click  and the new linetype will be added to your Revit project and will be selectable in the Wiring selector.
![]() There are no placement options for the Wiring or the Connect Rough-Ins tool.
There are no placement options for the Wiring or the Connect Rough-Ins tool.
